Posts

Showing posts from August, 2017

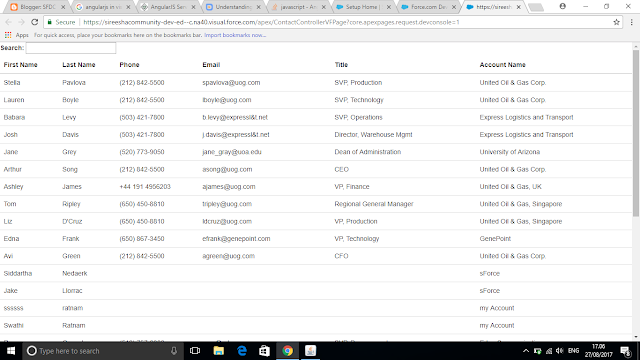
Visualforce App Using AngularJs
Image
AngularJs Before look at code you should understand the angularJs factory function . In AngularJS, services are reusable singleton objects that are used to organize and share code across your  app. They can be injected into controllers,filters,directives. AngularJS provides you three ways : service, factory and provider to create a service. Factory : A factory is simple function which allows you to add some logic before creating the object. It returns the created object. It is just a collection of functions like a class. Hence, it can be instantiated in different controllers when you are using it with constructor function. Syntax: app.factory('serviceName',function(){ return serviceObj;}) Creating service using factory method: <script> var app = angular.module( 'app' ,[]); app.factory(( 'myfactory' , function (){ var serviceobj={}; serviceobj.function1= function (){ // To Do: }; serviceobj.function2= function (){ // T
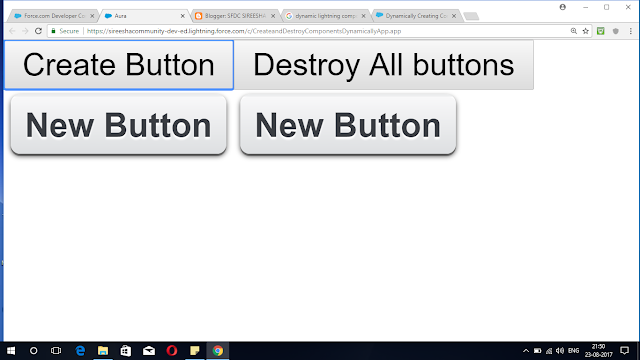
Create And Destroy Lightning Components Dynamically

Image
DYNAMIC LIGHTNING COMPONENTS Create a component dynamically in your client-side JavaScript code by using the $A.createComponent() method. To create multiple components, use $A.createComponents(). Syntax: $A.createComponent(St ring type, Object attributes,  function   callback) type--The type of components to create;for example, "ui:button". attributes--A map of attributes for the component,including the local Id(aura:id). callback(cmp , status , errorMessage)--The callback to invoke after the component is created.The callback has three parameters. cmp--The component that was created. This enables you to do something with the new component,such as add it to the body of the component that creates it.If there's an error,cmp is null. status--The status of the call. The possible values are SUCCESS, INCOMPLETE,or ERROR. Always check that the status is SUCCESS before you try to use the component. errorMessage--The error message if the status is ERROR. Componen

How To Get a Free Heroku Developer Account

Image
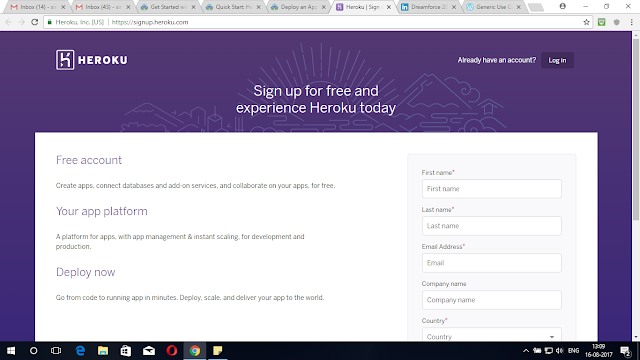
Heroku Developer Account Step 1 : Please navigate to  https://signup.heroku.com Step 2 :Fill your details and click on CREATE FEE ACCOUNT. Step 3 :Confirm your account on Heroku. Step 4 :Set your password and Click on SET PASSWORD AND LOG IN Step 5 :Then you will get welcome page like this. Step 6 :Navigate to click here to proceed as "your mail id" link. Step 7 :Done , you have created your Heroku Account successfully.

Build Custom Models For Image Classification on Einstein Platform

Image
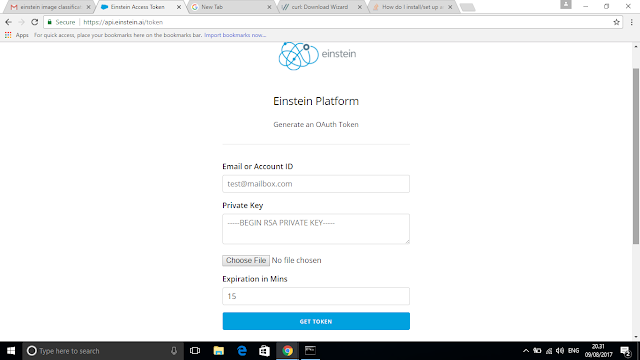
Prerequisites Set up your Account -- Navigate to  Einstein Platform Service Account  . Find your key file -- If you have already created an account, locate the  e instein_platform.pem     file that you have downloaded. Inastall Curl-- Download it from  https://curl.haxx.se/download.htm --> The Einstein Platform Service APIs use OAuth 2.0 JWT bearer token flow for authorization. Use the Token Page  to upload your key file and generate a JWT token. Step 1: Create Data Set Use the following command curl -X POST -H "Authorization: Bearer <TOKEN>" -H "Cache-Control: no-cache" -H "Content-Type: multipart/form-data" -F "type=image" -F "path=http://metamind.io/images/mountainvsbeach.zip" https://api.einstein.ai/v2/vision/datasets/upload/sync --> Replace <TOKEN> with the token which you got. Then you will get Json code like this {    "id":1009061,    "name":"mountainv

Integrate Salesforce Org with Einstein Image Classification API

Image
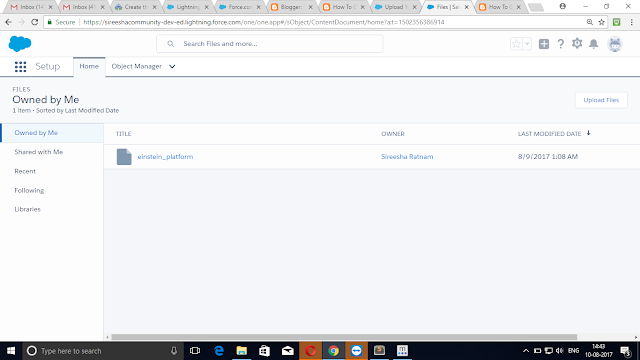
Prerequisites Set up your Account -- Navigate to  Einstein Platform Service Account  . Find your key file -- If you have already created an account, locate the e instein_platform.pem     file that you have downloaded. Upload Your File Step 1: Log in to salesforce Step 2:Click Files Step 3:Click Upload Files Step 4:Navigate to the directory where you saved the  einstein_platform.pem  file , select the file , and click Open. Create a Remote Site Step 1:Log in to salesforce Step 2:From SetUp Enter Remote Site  in Quick Find box, select Remote Site Settings . Step 3: Enter a name for the Remote Site. In the Remote Site URL field , enter https://api.metamind.io . Step 4: Click Save . Create The Apex Classes  Class Name -- JWT public class JWT {          public String alg {get;set;}     public String iss {get;set;}     public String sub {get;set;}     public String aud {get;set;}     public String exp {get;set;}     public

How To Get An Einstein Platform Service Account

Image
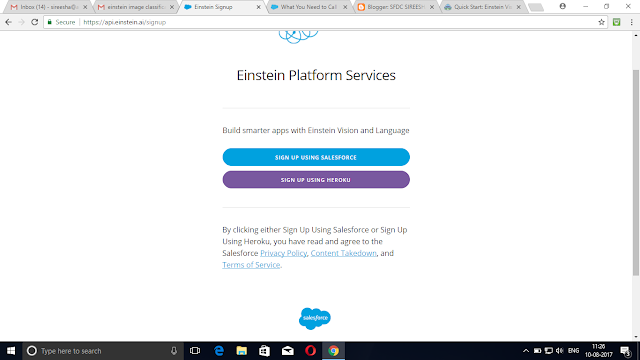
Get An Einstein Platform Account Step 1 :Navigate to  Sign Up Page . Step 2 :Click sign up using salesforce . Step 3 :On salesforce login page type username and password and click   log in. If you are already logged in skip this step. Step 4 : Click Allow Step 5 :If you are using google chrome, click Download Key to save file locally. The key file is named  einstein_platform.pem. If you are using any other browser , cut and paste key and save it as  einstein_platform.pem .

Configur Docusign For Salesforce

Image
DocuSign For Salesforce The basic steps are : Step 1:Sign in or create a Docusign account ( Refer  sfdcsireesha.blogspot.in --Docusign Integration With Salesforce). Step 2:Connect salesforce to Docusign( Refer  sfdcsireesha.blogspot.in --Docusign Integration With Salesforce). . Steps To Configure Docusign For Salesforce: Step 1:  After installing the DocuSign for Salesforce managed package, select the  DocuSign Admin  tab in Salesforce to bring up the DocuSign Log In view Step 2: Log in to your DocuSign Account:  Use an existing DocuSign admin account.                                                          Or Step 2: Sign up for a Free DocuSign Trial:  This creates a new account with a complementary 30-day free trial.  The free trial account is automatically directed to the DocuSign Production environment Step 3: Connect your DocuSign account with your Salesforce account, adding DocuSign as a Trusted Network in Salesforce. Enter your Salesforce credentials,